Quarantine Cup: Sloanager vs Garmhawk
It’s self-quarantine time, so we’ve had Armada ships on the dining room table all week!
Henry was excited to play with the Onager and in particular to blow up a Starhawk with that superweapon. He also is a big squadron fan, so I helped him make a list with Admiral Sloane and a Quasar. The list he played today was the second iteration, replacing an Interdictor with an Arquitens and upgrading from the Onager Testbed to the OSD variant. He also took my advice to focus on non-Rogue squads that roll blue dice vs ships, to make use of Sloane’s ability.
I had an Amity Starhawk Mk I with Garm bel Iblis. Since I played him in a Corellian Conflict campaign, I’ve loved me some Garm. The rest of the list was built to be a hammer to the Starhawk’s anvil. I wanted some squads and to try out the Intensify Firepower! fleet command, so in went a Pelta. It uses Garm tokens and Hondo to get 3-4 easy IF! commands in a game. I also tried out a mid-size generic bomber ball, with Jan Ors and Wedge (officer version) to let them get into trouble. A Slaved Turrets Scout Hammerhead rounds out the fleet. Multiple threats so that you can’t just run from the ‘Hawk.
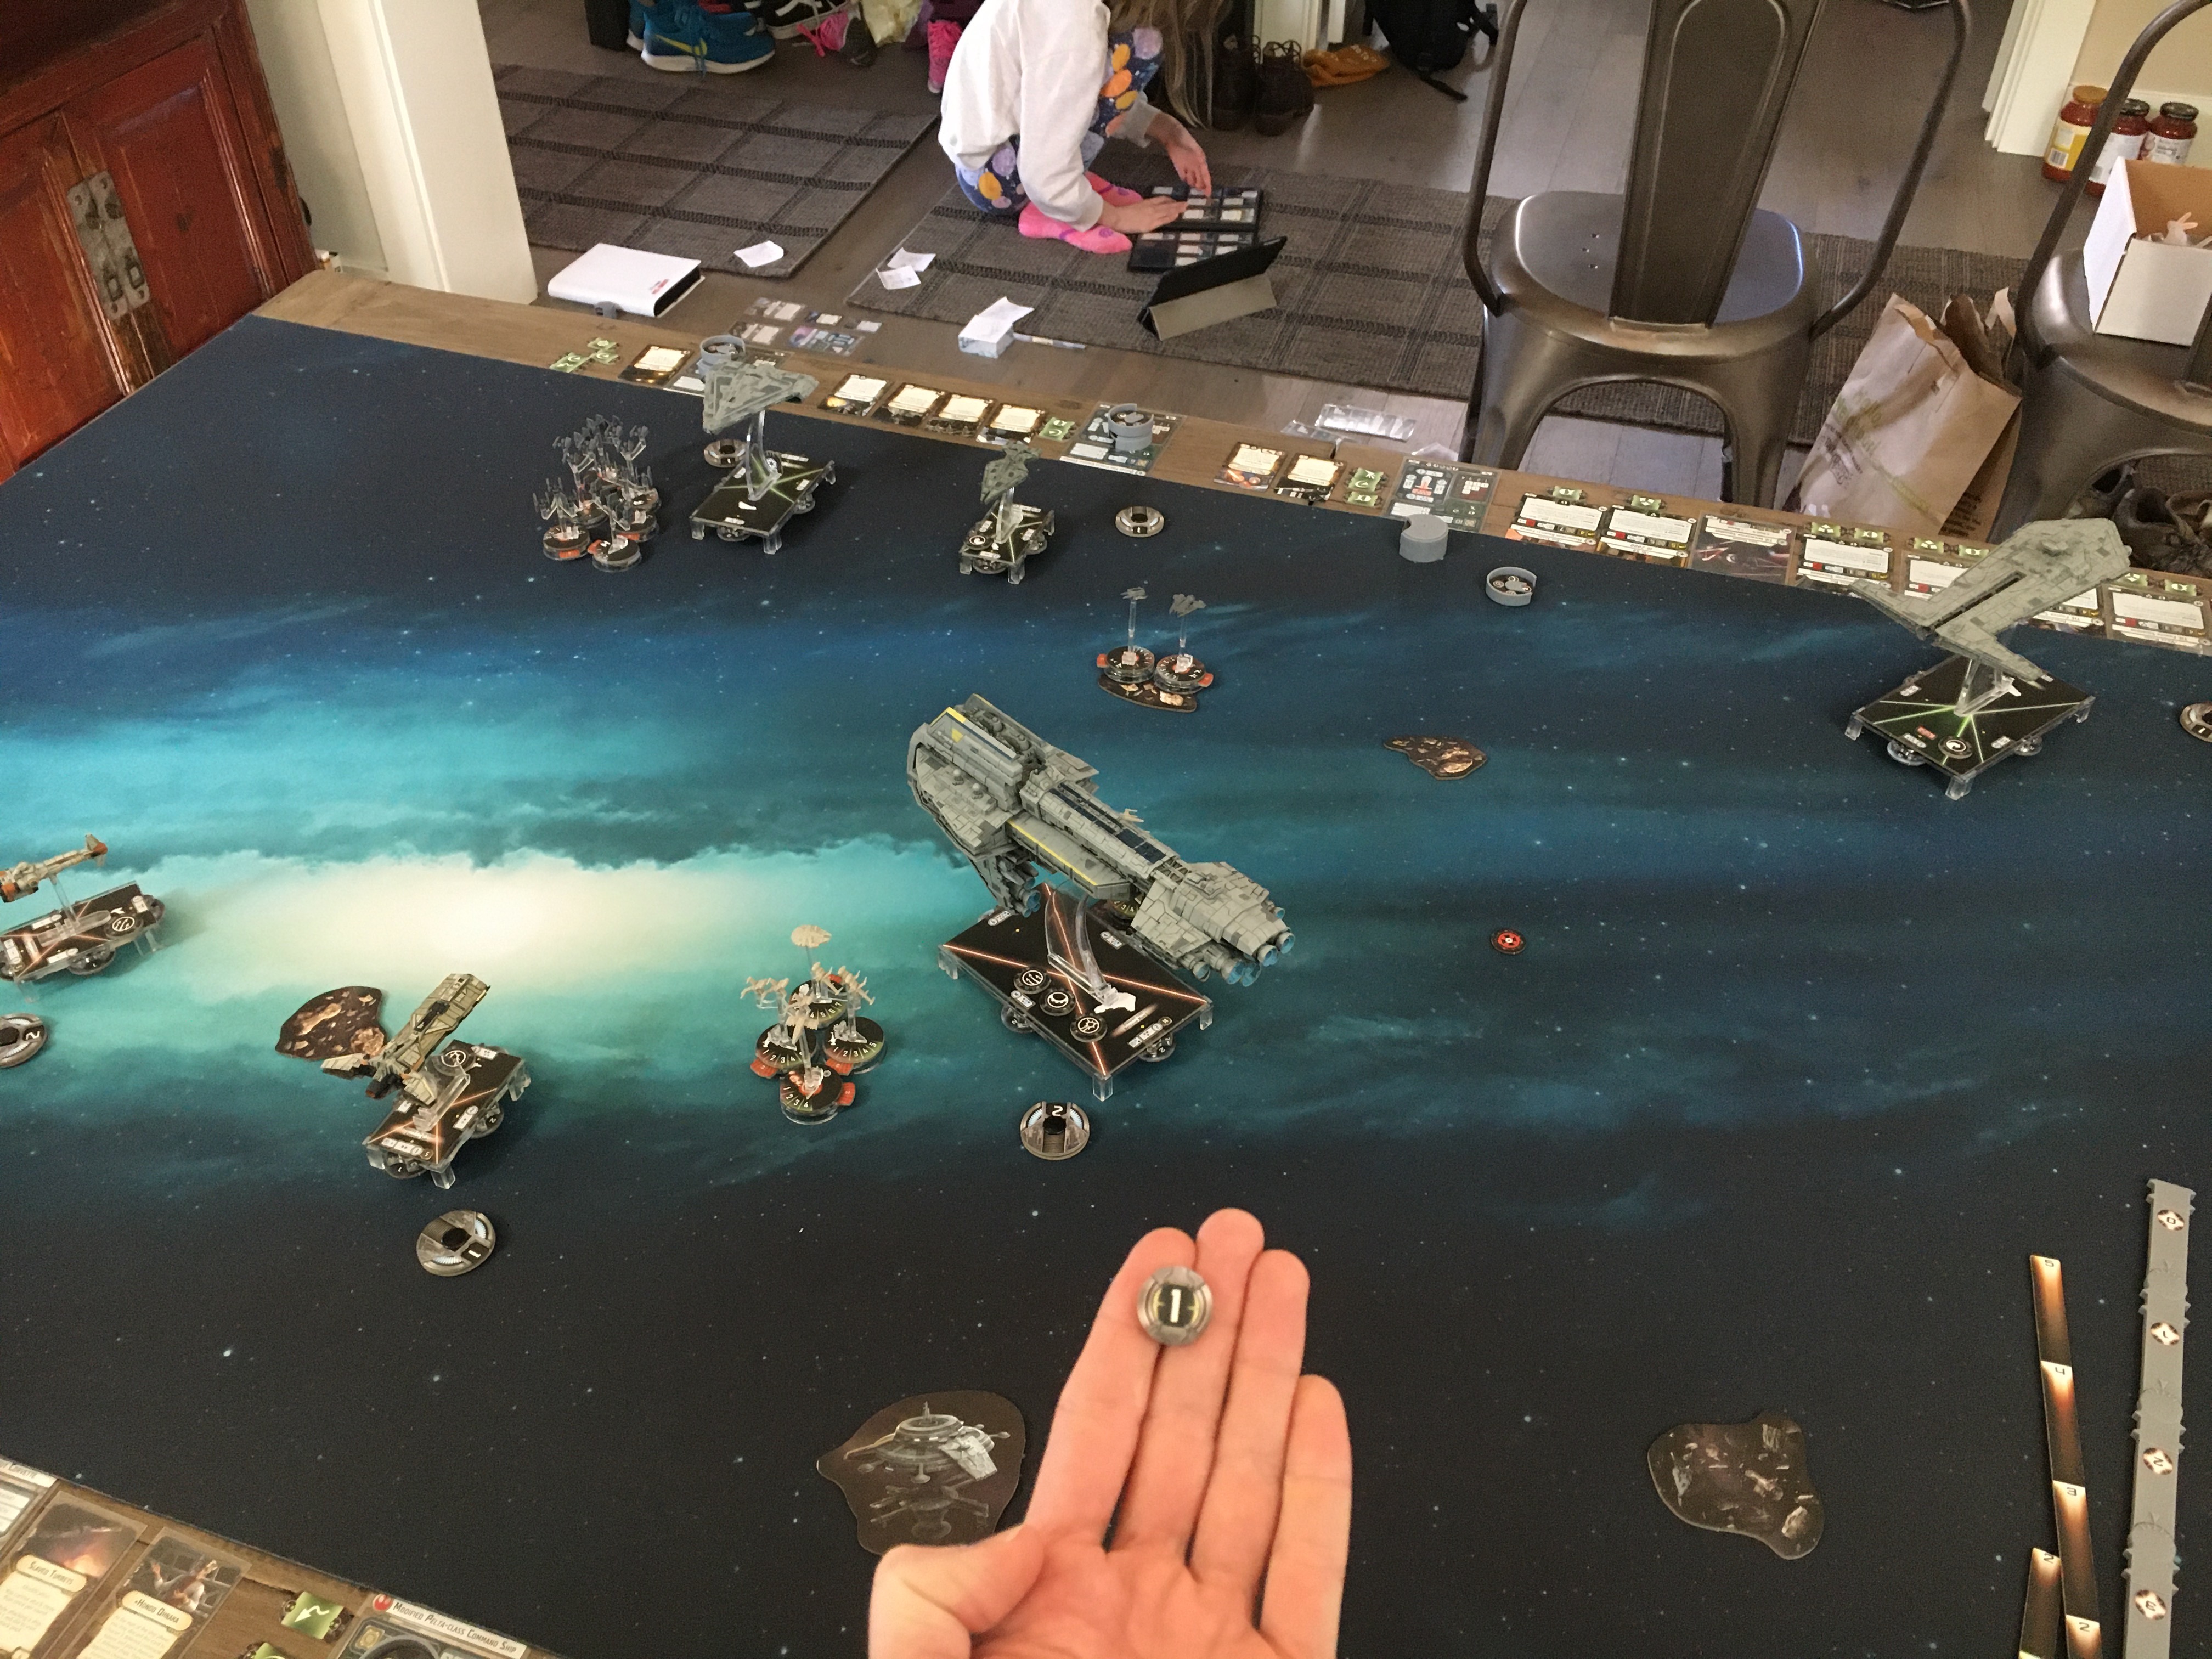
I picked Henry’s Surprise Attack and deployed straight up the middle where he put the station. Henry’s first deployment was the Onager on my right, so I set up the rest of my ships to sweep in from the left. Let the Starhawk tank the Onager while I quickly wipe out the smaller ships, and spam Repair commands to stay alive.

Just after the Pelta activated, turn 1. Freya back there is building fleets for our future clashes.
Turn one, Henry wisely chose to set up Navigate as the first raid token to give me with Surprise Attack. “Heh heh, you always nav on the first turn, Dad!” Garm came through for me here, since I could discard my Garm nav token to clear the raid, but use the dial to speed up the Starhawk and crank the wheel to the left.
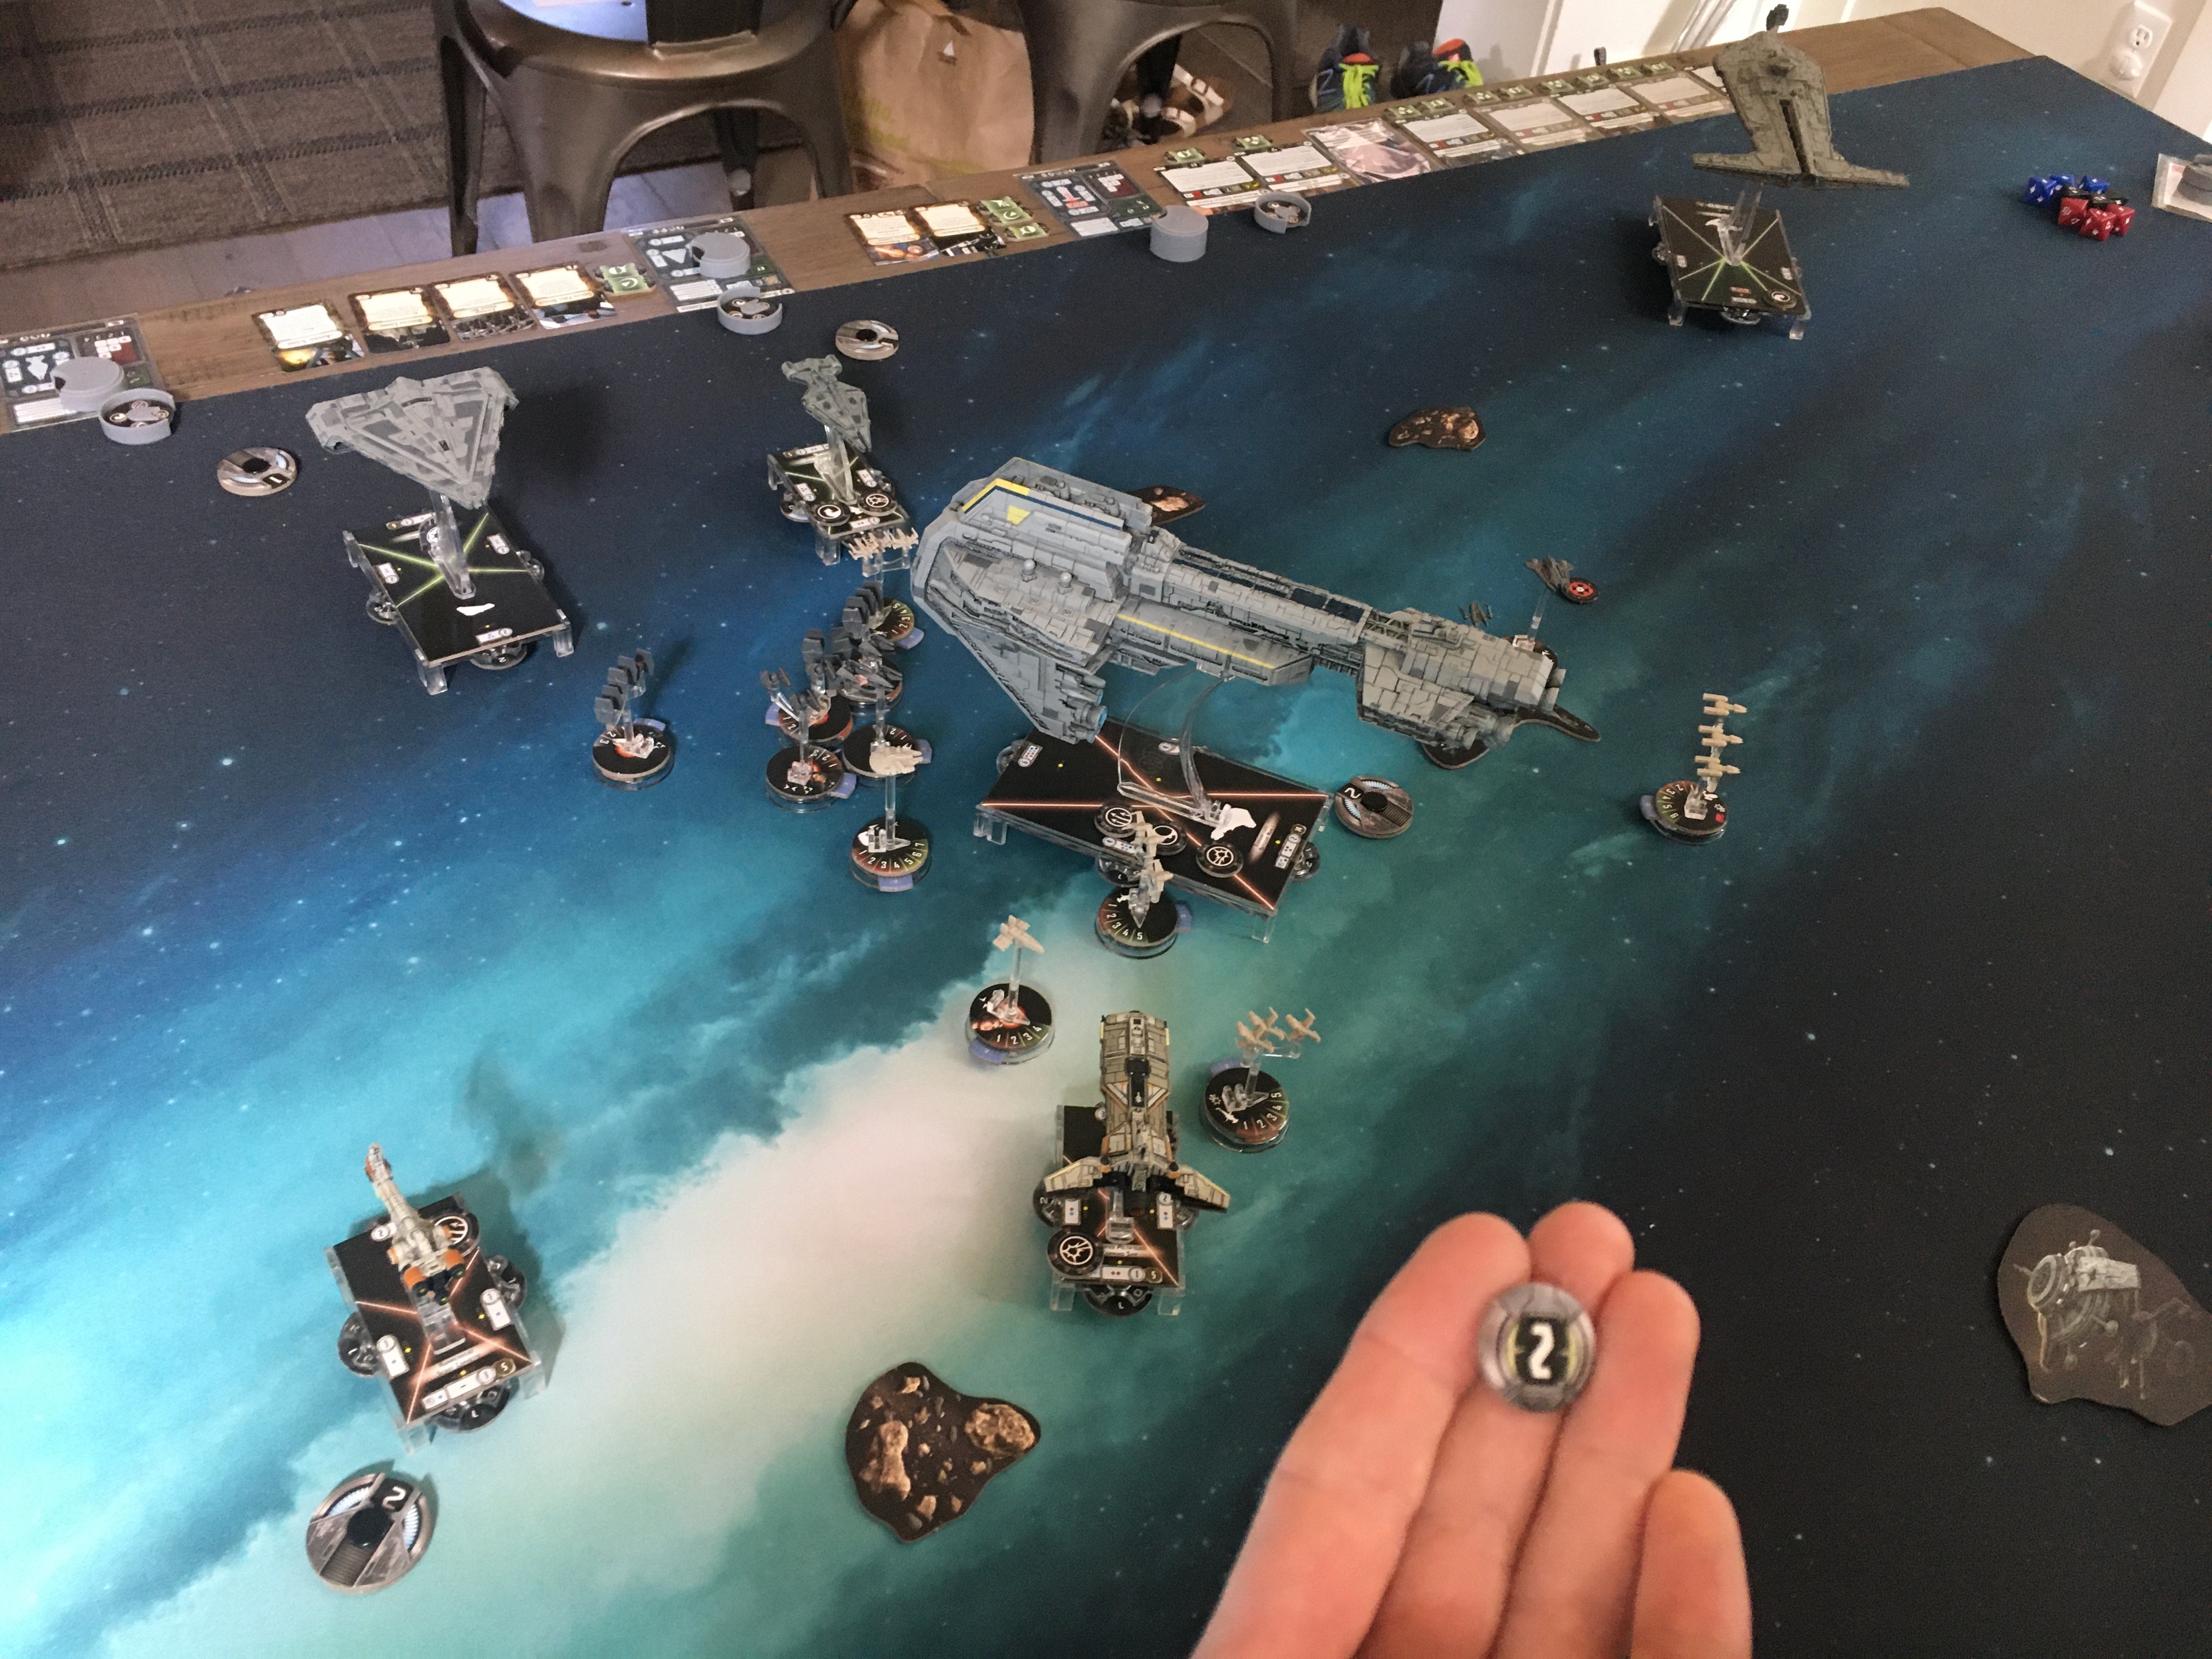
Running toward the Quasar, end turn 1
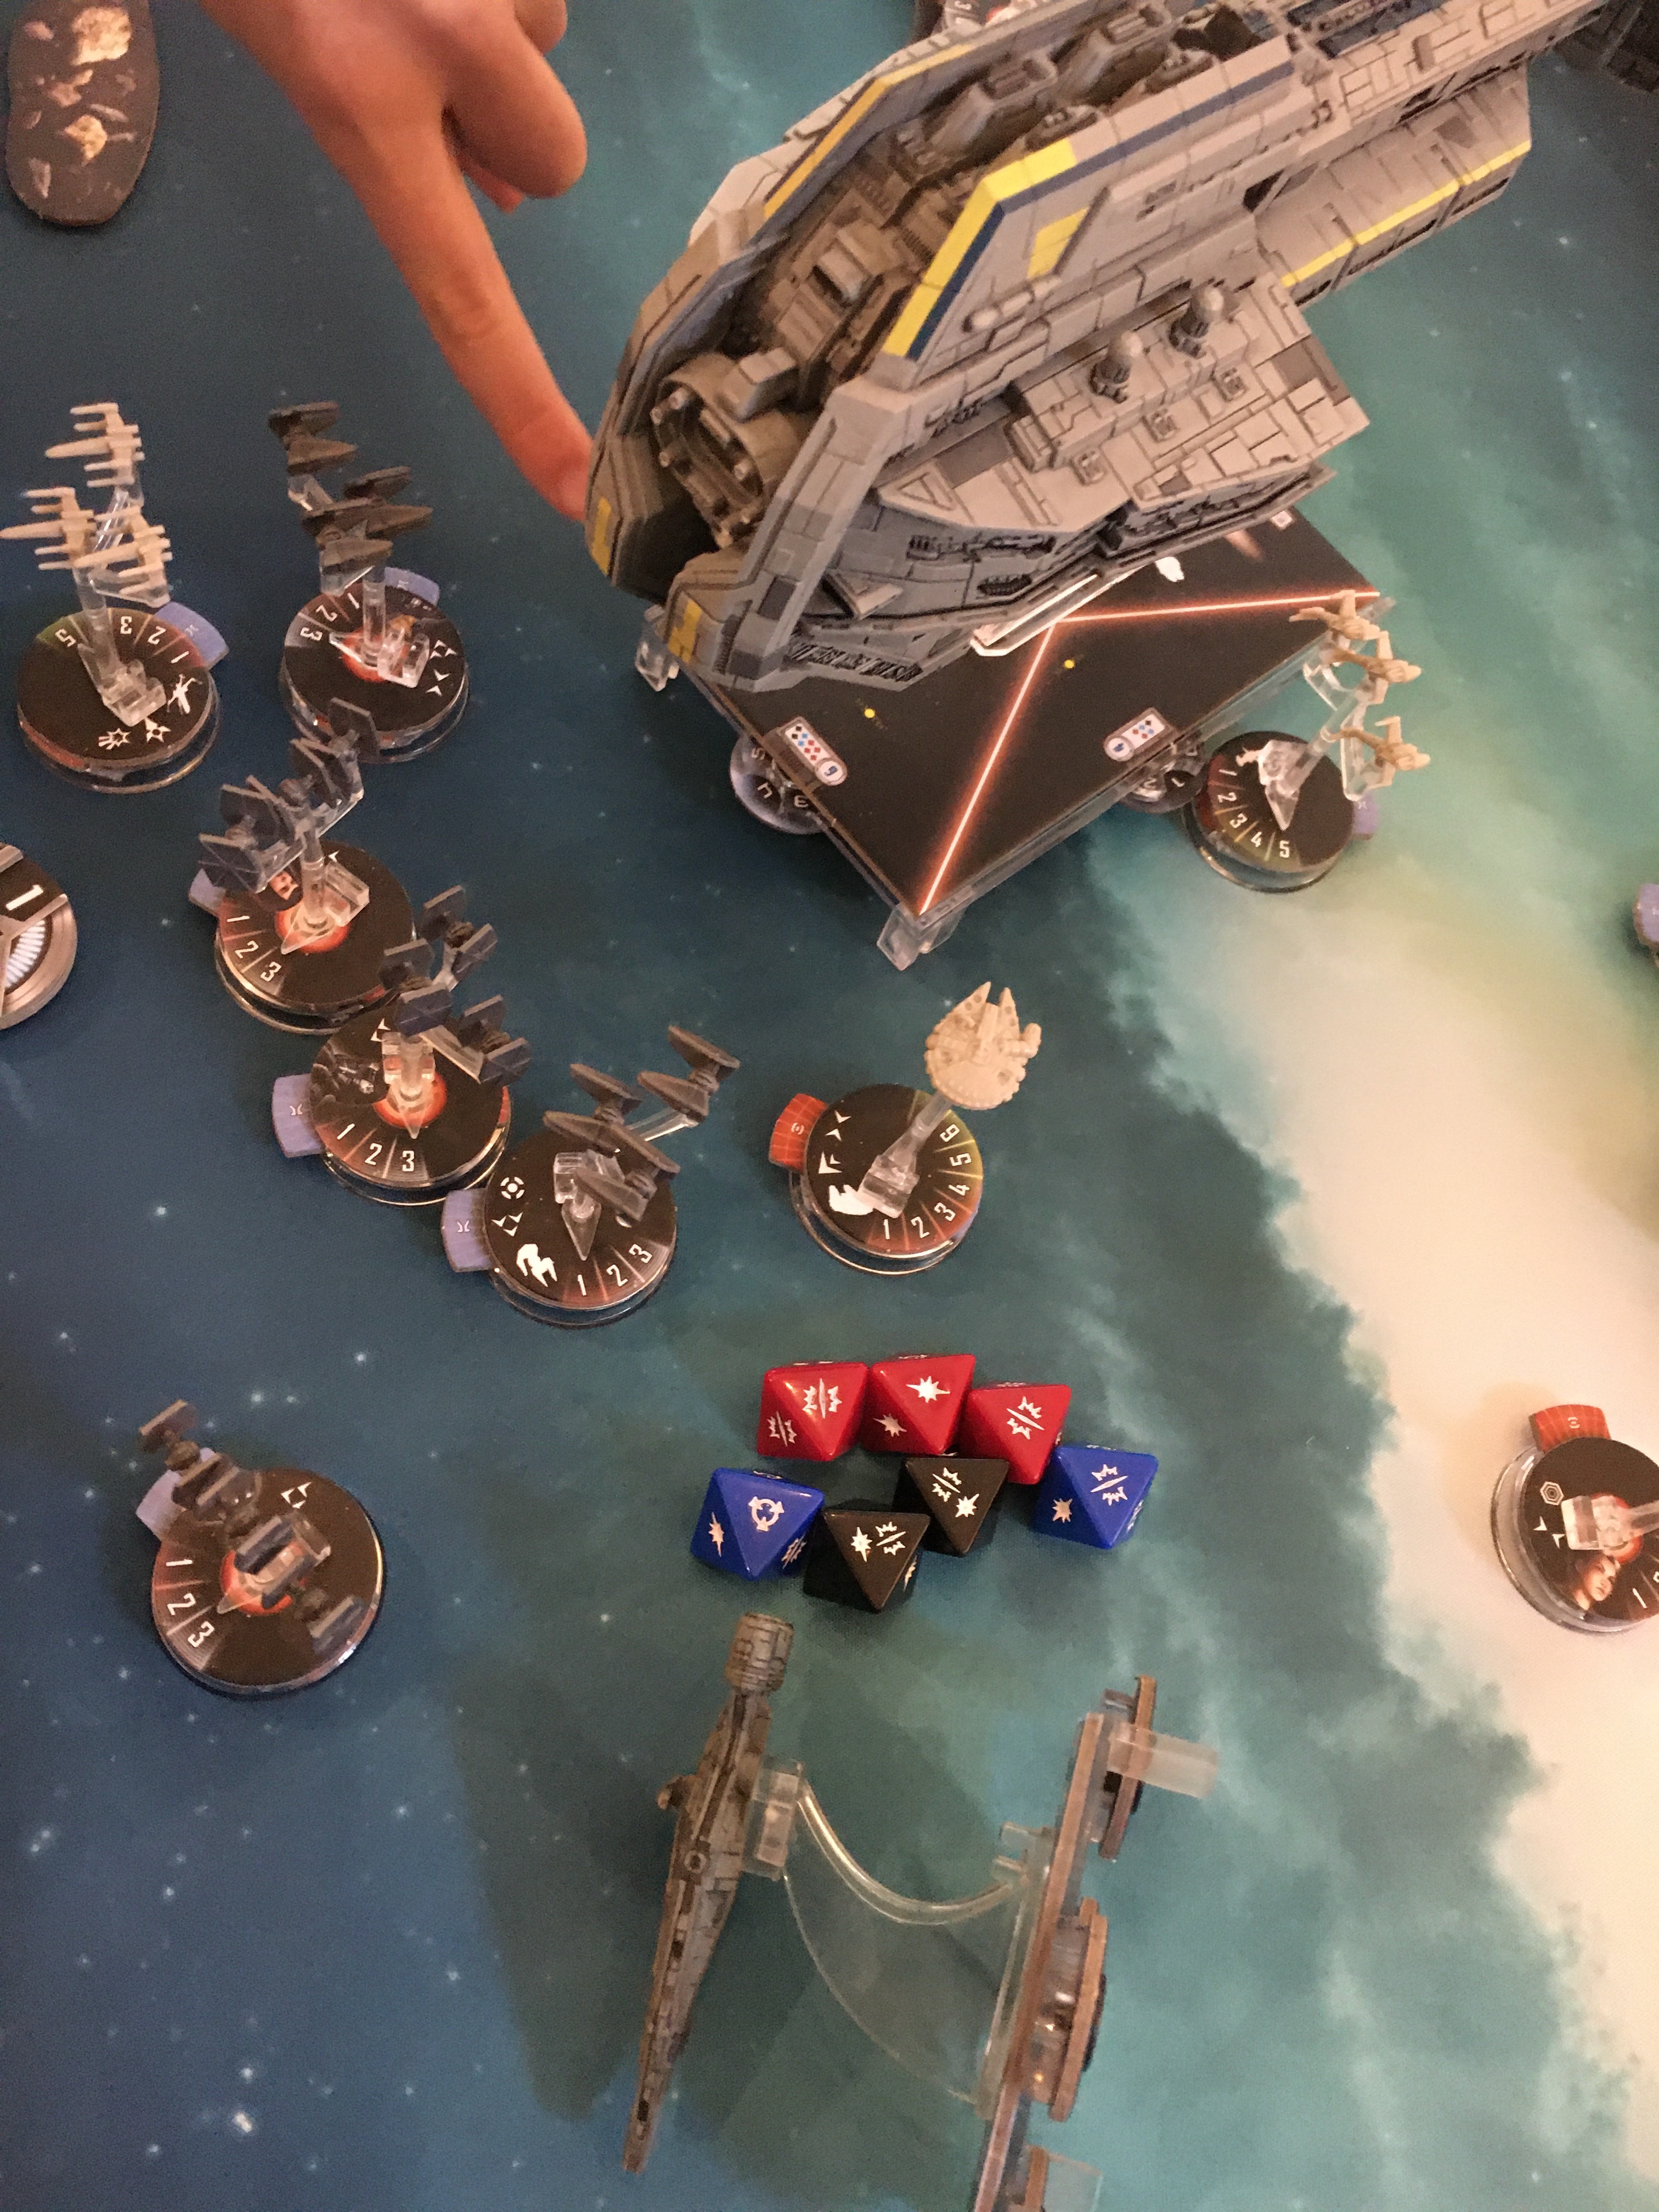
I charged forward with the ‘Hawk and Henry sent his squads to my front arc. Nice choice, Henry–now I have to choose who to shoot at! This is where the Salvo token came in handy, though. I could use it plus Linked Turbolaser Towers to take my shots at ships but still throw four dice at an unlucky TIE Interceptor.
That’s really a TIE Interceptor, not a generic Fighter… My only two models were used for Ciena and Saber
Henry was starting to wear down the Starhawk’s shields, but running from the Onager was working so far–only four shield damage from red-dice extreme range superweapon shots so far.
End of turn 2. Note the Y-wing pulling his two Rogues away from the action thanks to Wedge granting it Cloak.
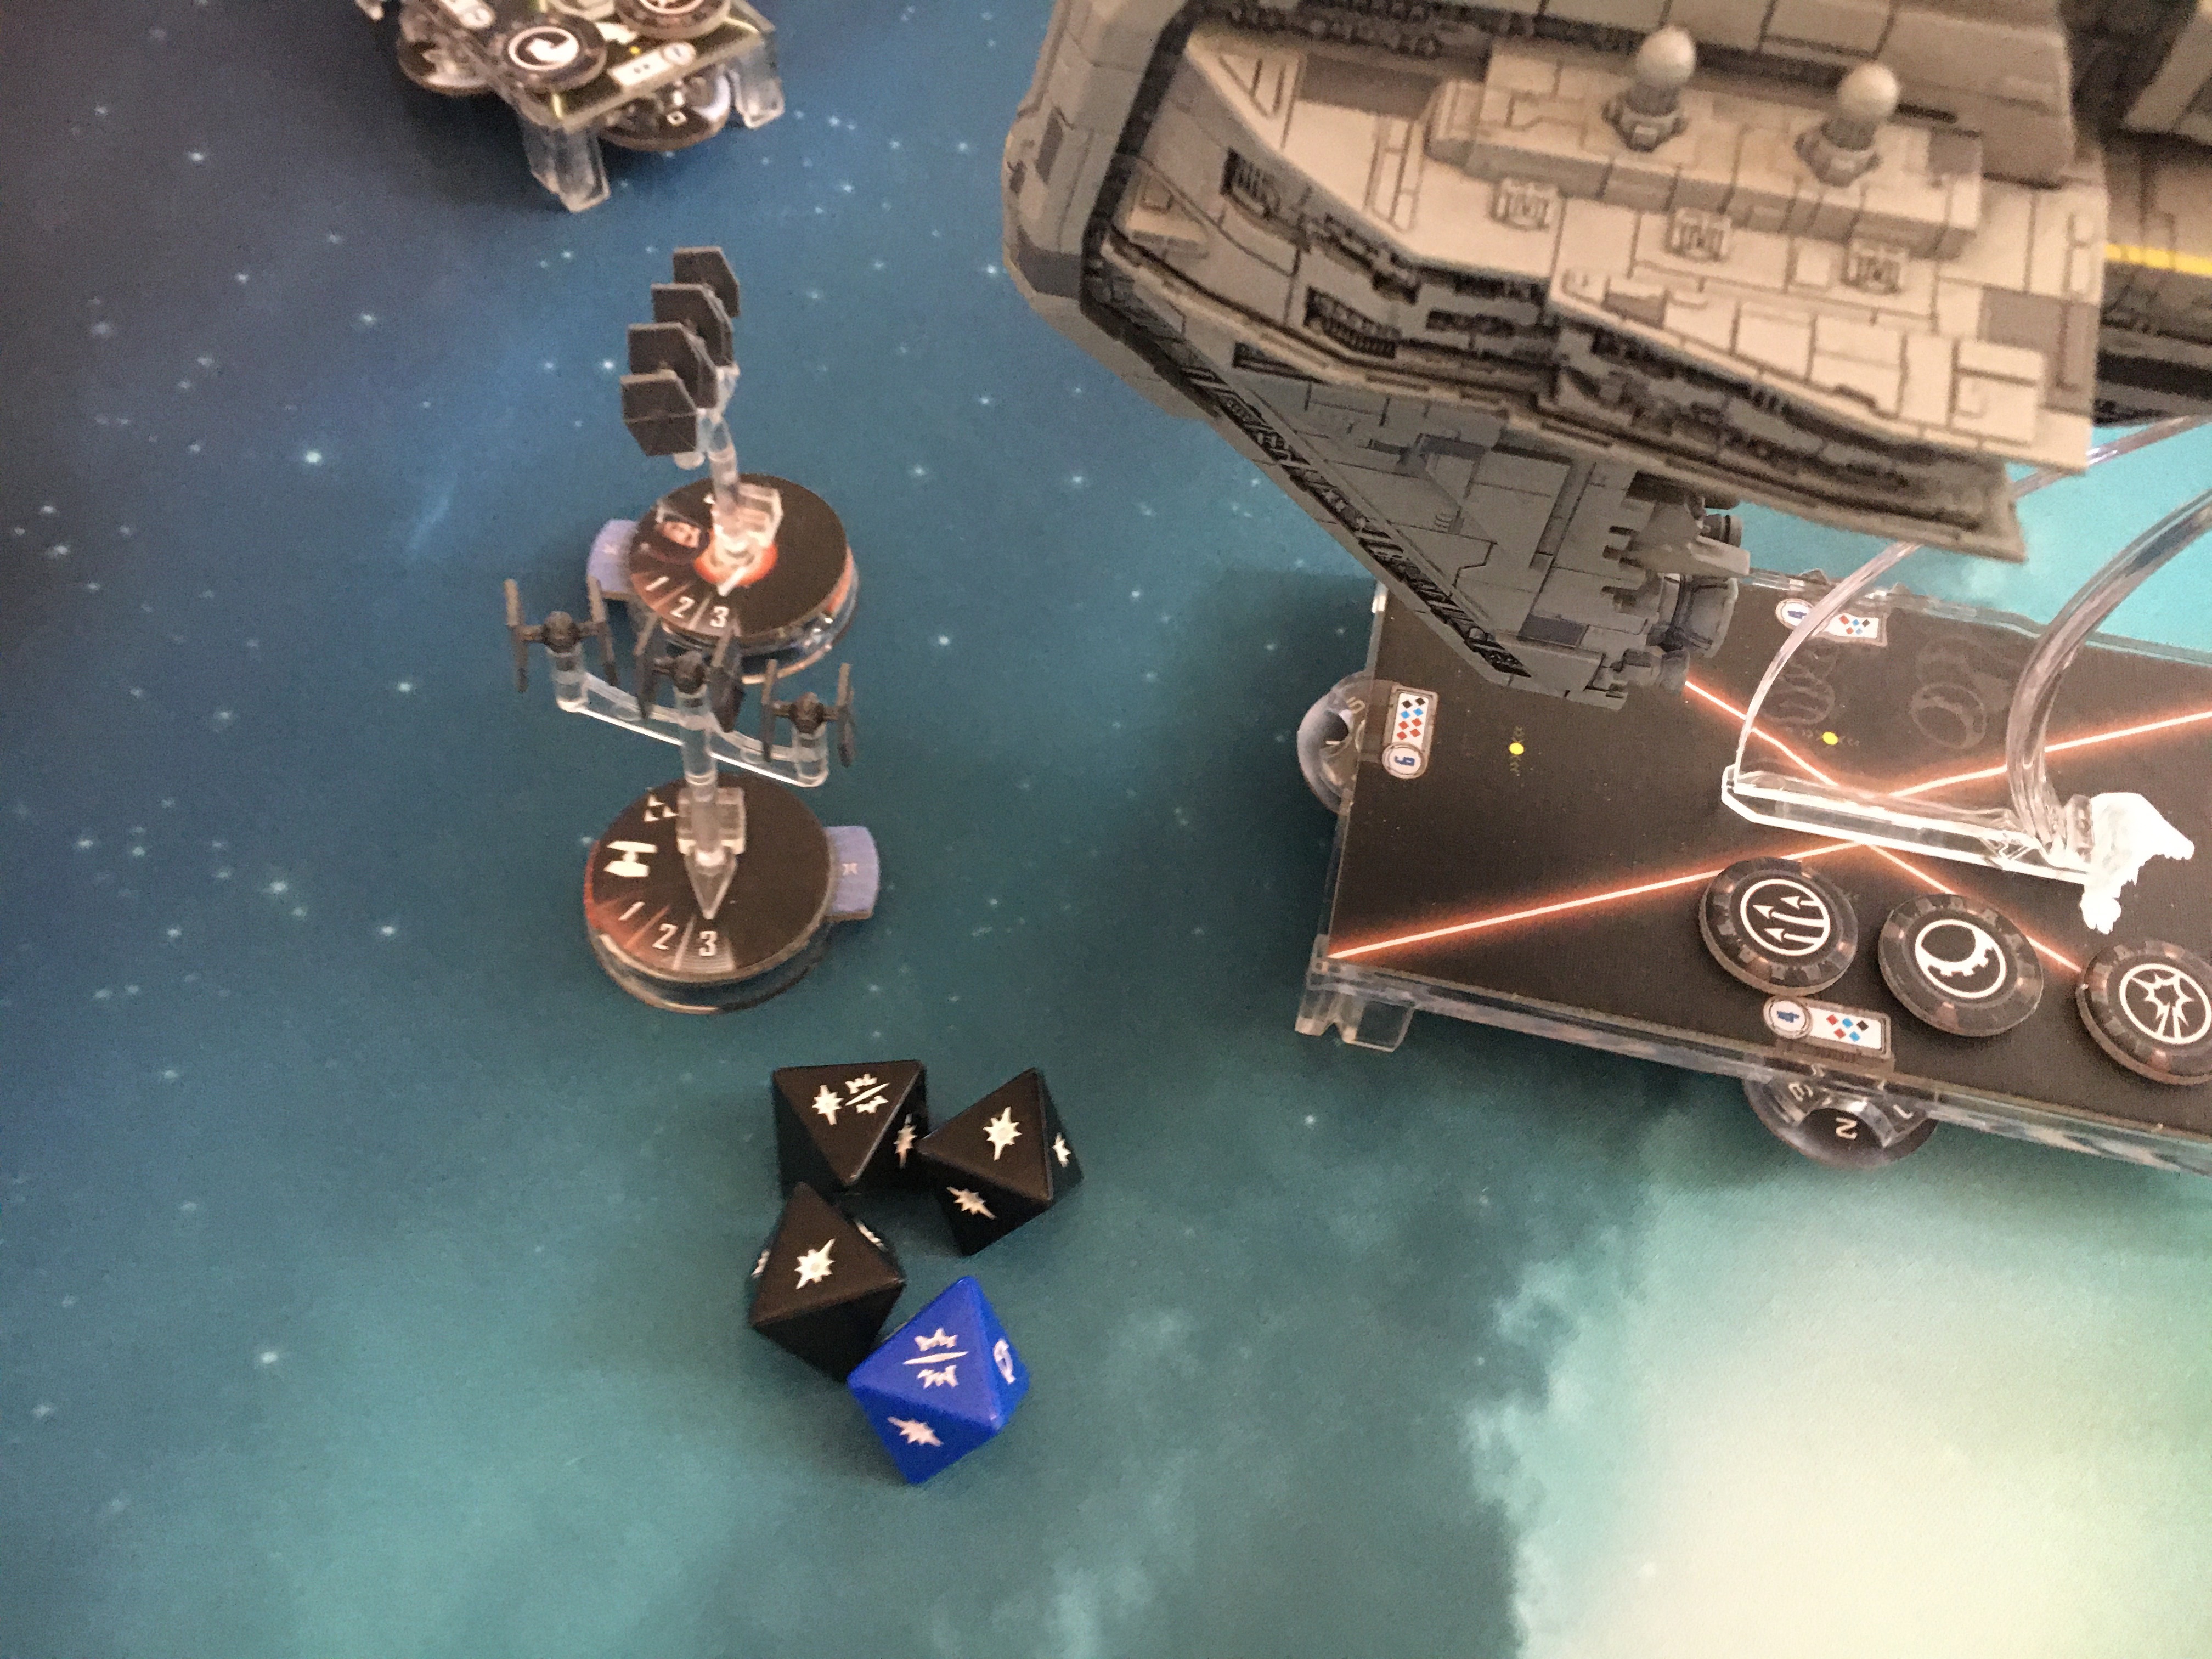
Unfortunately, that Arquitens was not in a good position. With no shields left except the rear, it was moving at speed 1 with Nav dial and token, but had no good places to land, thanks to its inflexible movement chart. After much discussion, Henry decided the Arq would take one for the team and move right into the middle of the Starhawk front arc, forcing me to choose again which of several targets to hit with my most powerful weapons.
Yikes, that’s a good roll. Not so good for the Imperial Light Cruiser.
Henry reflected on what he could have done differently with the Arquitens: deploy it sideways so it could shoot with the side arc. Nice! Sounds like a solid plan.
The Onager and those nasty Sloane squads were starting to wear on the Starhawk, especially after Henry’s third Surprise Attack dial revealed Repair, preventing me growing some shields back. It ended turn three with four facedown damage and an Onager closing fast.
All three of my ships were lined up to kill the Quasar next turn, though, and Henry was getting bored of not killing the Starhawk hard enough. So we called the game and went off to play Mindustry instead :)

Sad Henry says, “Dad, get me in the picture!”
Both kids have had fun while stuck at home building fleets with Armada Fleet Builder. Looking forward to Freya’s first match soon!