Portland Prime tournament, Feb. 8, 2020
This is the story of my first major Armada tournament, at Red Castle Games. From building a fleet list to getting smashed by some great players, I had a blast.
If you play Armada or really any tabletop games and you’re anywhere near SE Portland, give Red Castle a visit! They do a great job building a community and deserve support. Check out the live-blog of the tournament by Matt, the organizer.
Building the fleet
Ever since Raddus and Profundity were released, I’ve wanted to play them. You say I can drop one ship and then another in just the right places to give the enemy a bad time? How appealing! High risk, high reward.
Then Fantasy Flight released errata changing how Raddus works. No more wondering from which ship the surprise would drop, it had to be from the flagship. Many people on the Internet complained that he had been “nerfed”… And this is when I was positive I had to play him. I have a contrarian streak. And now I could drop a heavy hitter at nearly distance four from my flagship?
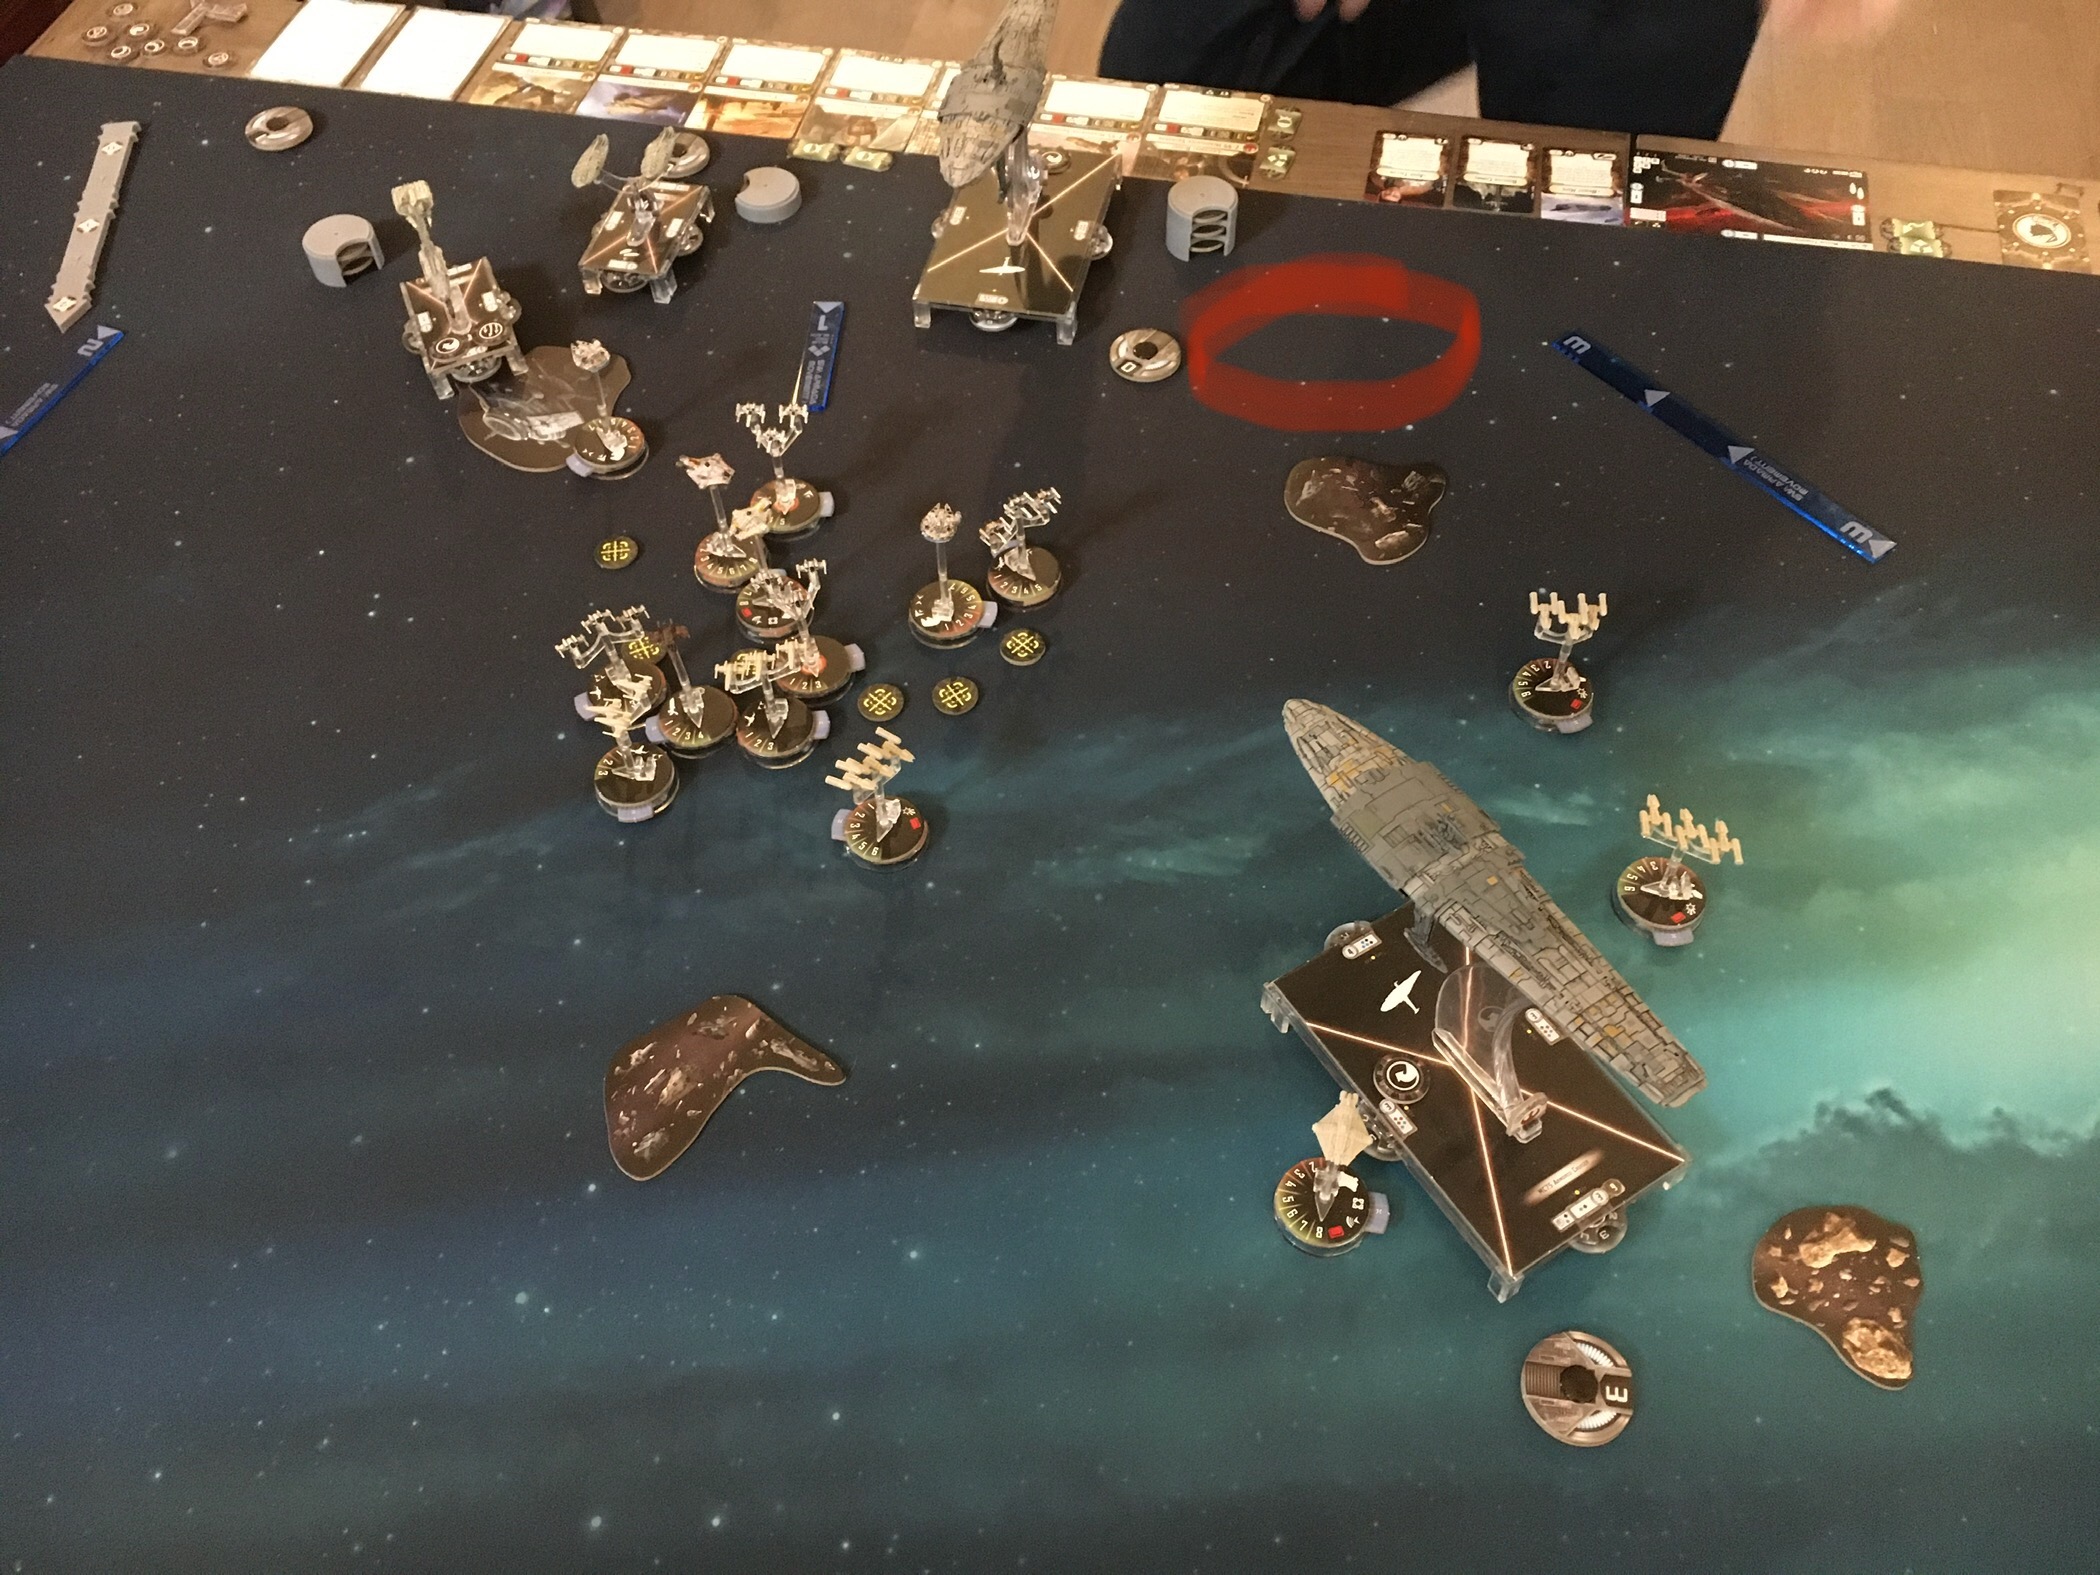
Next turn’s Raddus drop circled in red
Awesome, let’s do this.
So the core of the fleet is Raddus on an MC75 with the Profundity title, a small ship to drop with Profundity, and a heavy hitter to hyperspace in with Raddus. Here’s what I ended up going to the Prime tournament with, after several weeks of experimentation:
Raddeux Lib V4 (399/400)
Rebels  - Author: Ralph Bodenner

Commander: Admiral Raddus

Objectives: Surprise Attack, Salvage Run, Asteroid Tactics

[flagship] MC75 Armored Cruiser (104)
 - Admiral Raddus (26)
 - Profundity (7)
 - Electronic Counter Measures (7)
 - Advanced Transponder Net (5)
 - Lando Calrissian (4)
 - Ordnance Pods (3)
 - Ordnance Experts (4)
= 160 total points

Hammerhead Torpedo Corvette (36)
 - Cham Syndulla (5)
 - External Racks (3)
= 44 total points

GR-75 Medium Transports (18)
 - Comms Net (2)
= 20 total points

MC80 Liberty Star Cruiser (96)
 - Mon Karren (8)
 - SW-7 Ion Batteries (5)
 - Caitken and Shollan (6)
= 115 total points

Squadrons (60/134):
1x Dutch Vander Y-Wing Squadron (16)
1x Y-Wing Squadron (10)
1x VCX-100 Freighter (15)
1x Wedge Antilles X-Wing Squadron (19)
What is the plan?
Right, so what is the fleet supposed to do? The main idea is to go after the biggest threat with the Raddus/Profundity drop, kill it quickly, and then either mop up support ships or run away, depending on how the point balance looks. Likely the MC75 will die, but it’s going to take somebody big down with it, and the enemy’s plan will be in disarray reacting to the drop.
I also wanted to plan to be second player, since that would give me the best opportunity to force difficult decisions for the other player on the drop turn. As second player, any one of my three combat ships could be the first of mine to activate after the drop ships deployed. If I were first player, I’d have to activate either the MC75 or flotilla first, limiting my options.
So why did I choose the upgrades and the Liberty as the drop ship?
Dealing with tough matchups
I was worried about the Super Star Destroyer (SSD), so initially I started tuning the fleet specifically to take one down. That meant a “Chammerhead” would be my Profundity drop: a cheap Hammerhead Torpedo Frigate with Cham Syndulla to turn a Ravager SSD’s stack of four Engineering or Concentrate Fire dials into probably useless Squadron commands. I also needed to kit the MC75 out for survival, since it would have to weather a front arc shot or two from Ravager. So ECM goes in for sure. At first, I had Walex Blissex to get my precious single Brace back, but found that the timing didn’t always work–I’d just have burned the Brace the turn before and then get blown up when the SSD activates first. Out with Walex, in with Lando. Since any SSD build I’d seen included Damage Control Officer, I also abandoned using expensive critical effect upgrades like Assault Proton Torpoedoes or Heavy Ion Emplacements.
I played two solo practice games vs. an SSD and blew it all the way up the second time, when I pinned both sides of the beast by dropping the Chammerhead on one side and the Liberty on the other. It then could not turn to get its stronger front arcs on my ships.
Dealing with heavy squadrons was also a concern. After a practice match against Tanner, who beat me with Yavaris, a nasty Biggs ball o’ bombers, and an MC75 blocker with Advanced Transponder Net (ATN), I was inspired to try ATN myself. It would let me surround my own MC75 with cheap Y-wing padding, which opposing bombers would have to chew through first. And if they didn’t bring bombers, my Y-wings could go do some bombing themselves.
I tried this out against Matt, who I asked to bring as evil a Sloane list as he could. Profundity plowed into the bomber cloud at high speed and made it to turn three in rough shape, dropping the Liberty in position behind the Quasar to dispatch it with one shot.
Bad for the Quasar, but also bad for the Profundity
Matt’s Avenger, however, came around the next turn to nuke the MC75. The Hammerhead went down soon after. Mon Karren was not up to the task of surviving bombers while keeping on target with its front arc and out of the ISD’s own medium-range threat radius, so it fled for the other side of the board. Perhaps if the MC75 had been able to block the ISD in one more turn. My ATN fighter cover did a decent job protecting the flagship, despite Dutch getting sniped turn two. And Ordnance Pods made the difference in killing a couple squadrons with flak, a good trade for three points.
I made a few changes to the list after this game, radically changing Mon Karren from an expensive Intel Officer/XI7/Spinal Armament loadout to a cheaper one oriented toward pure reliable damage: SW7 Ions, keeping Caitken and Shollan.
What about multiple small units (MSU)? Yeah, I was worried about this, too. I played a practice match with Thomas and his Mothma MC30s that didn’t go so well. This is where I learned better how to “catch” small ships that can last-first you… and that going to speed zero to do so is too big a risk to take. In the photo below, Admonition barely managed to squeeze in where the Y-wing is and exploded the Liberty (no defense tokens!) top of next turn.
If only I’d deployed the Hammerhead further behind the MC75!
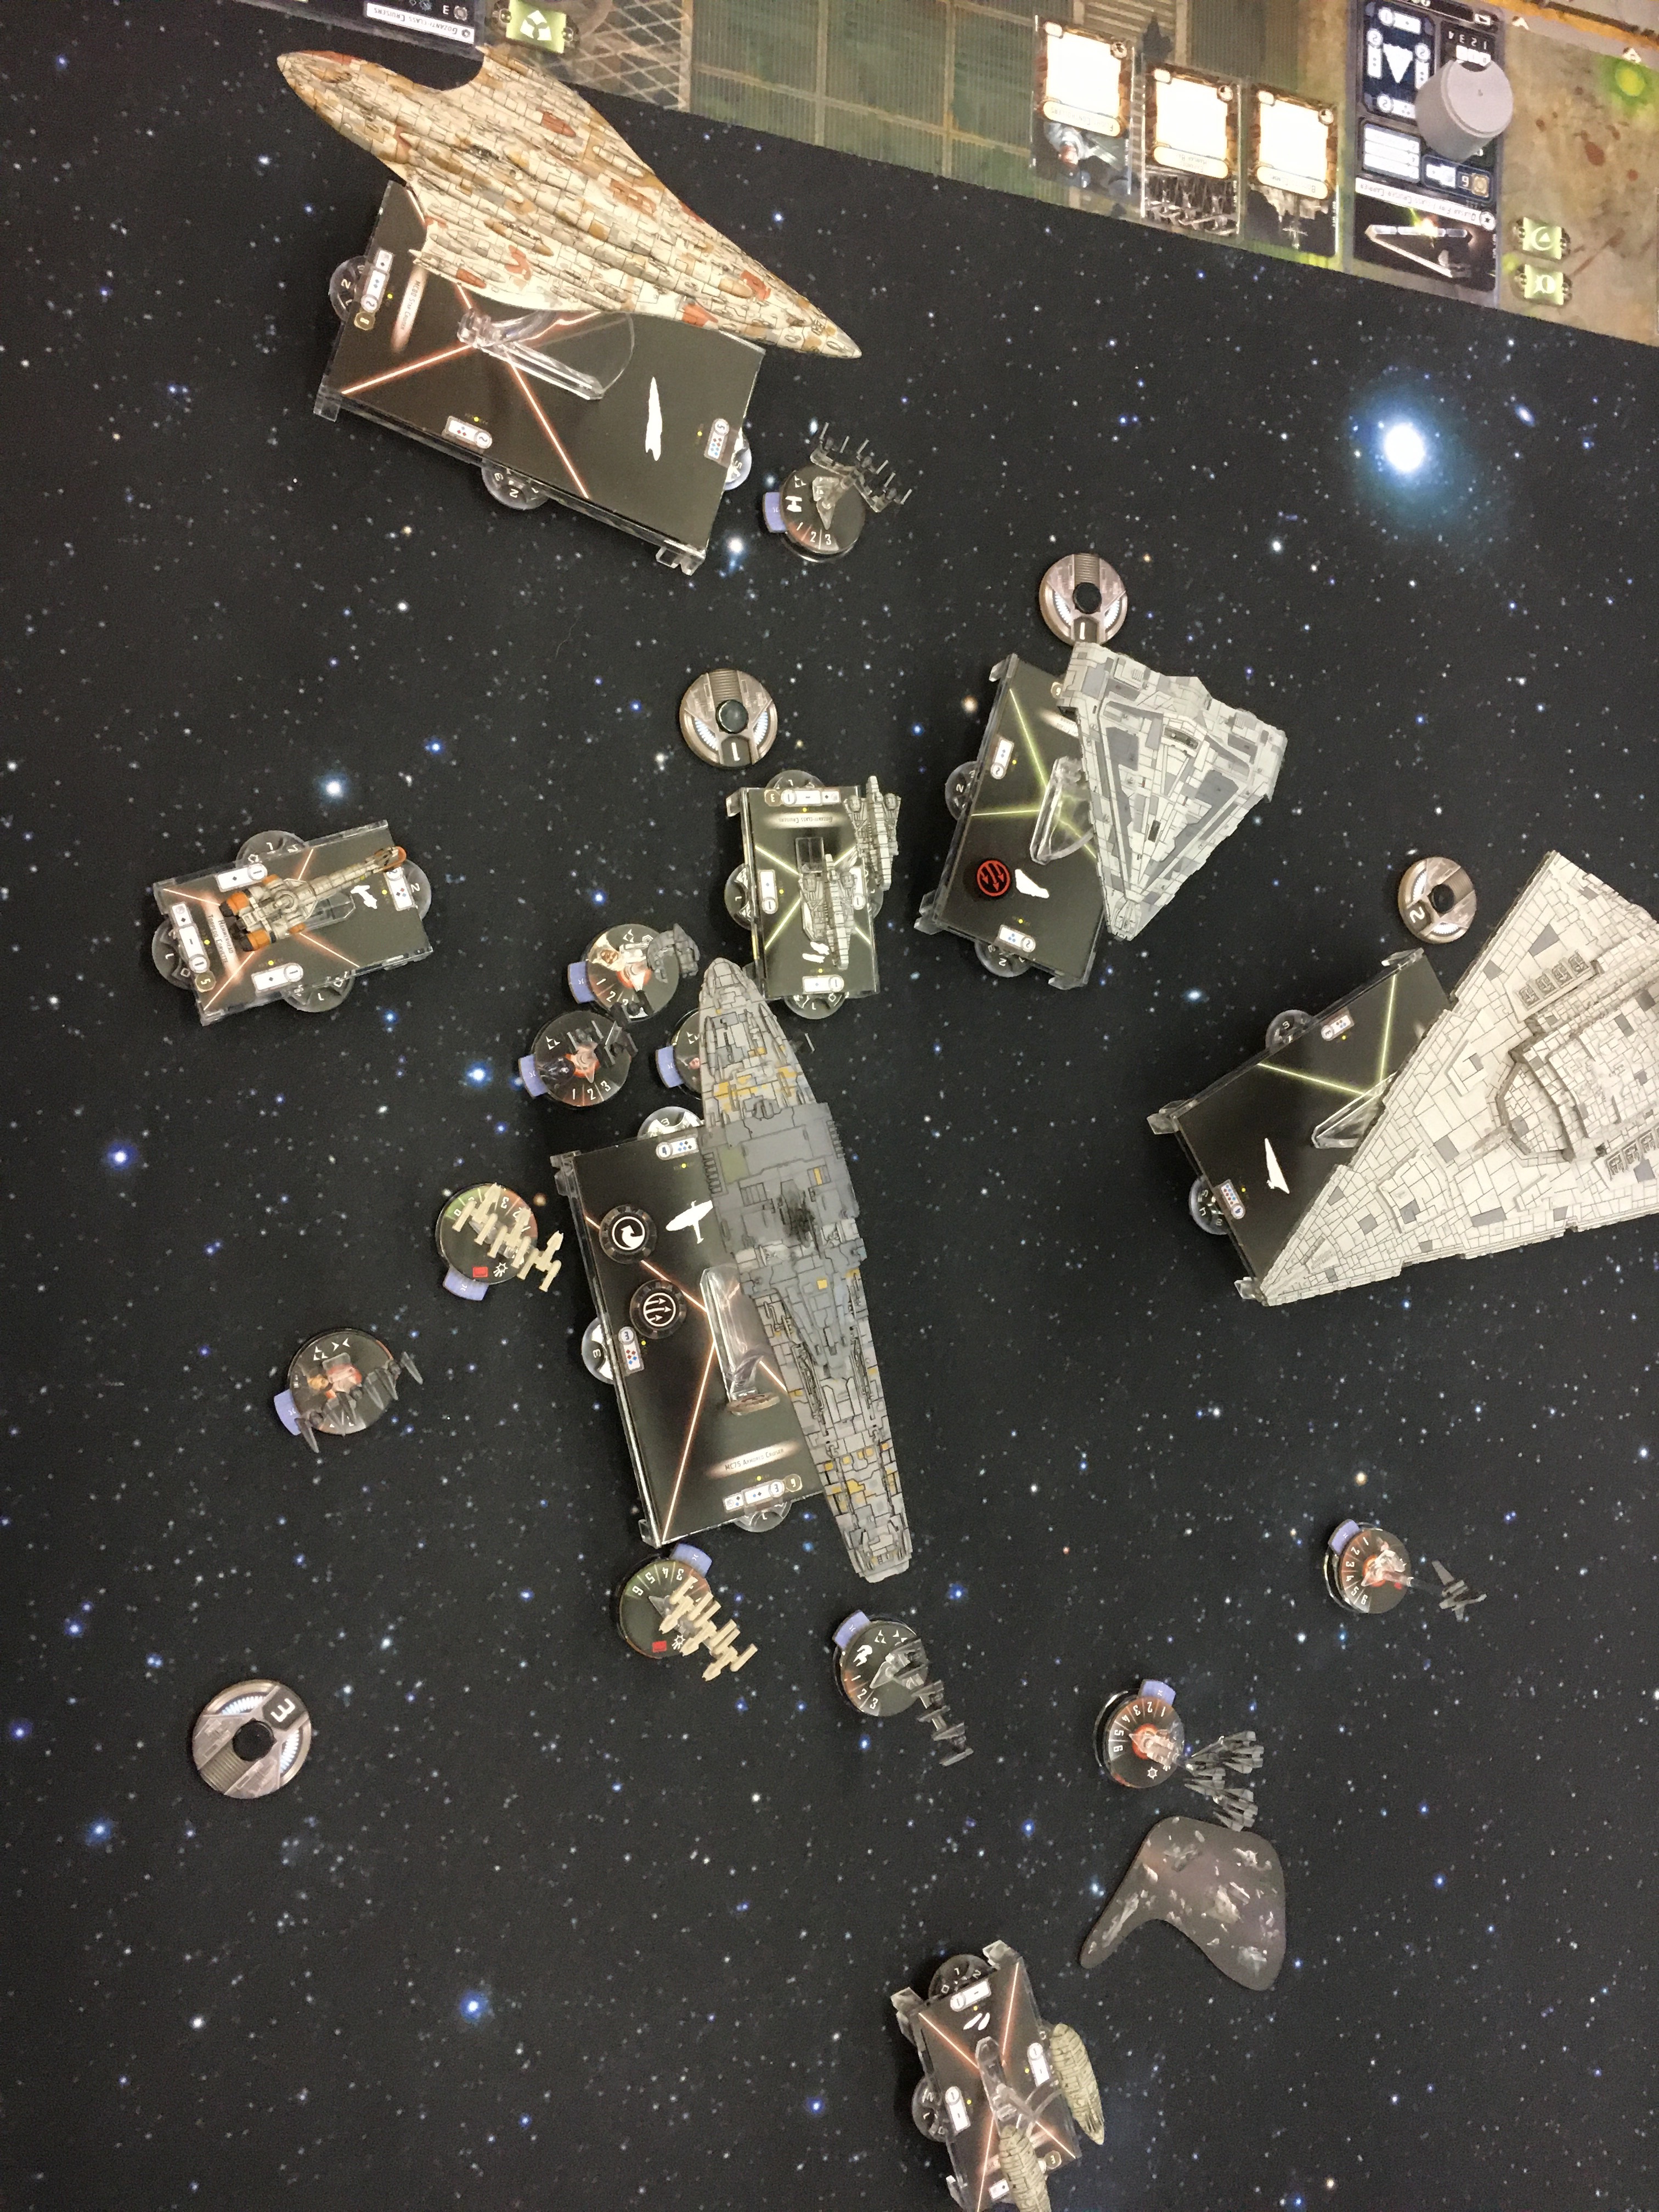
One of each Rebel large
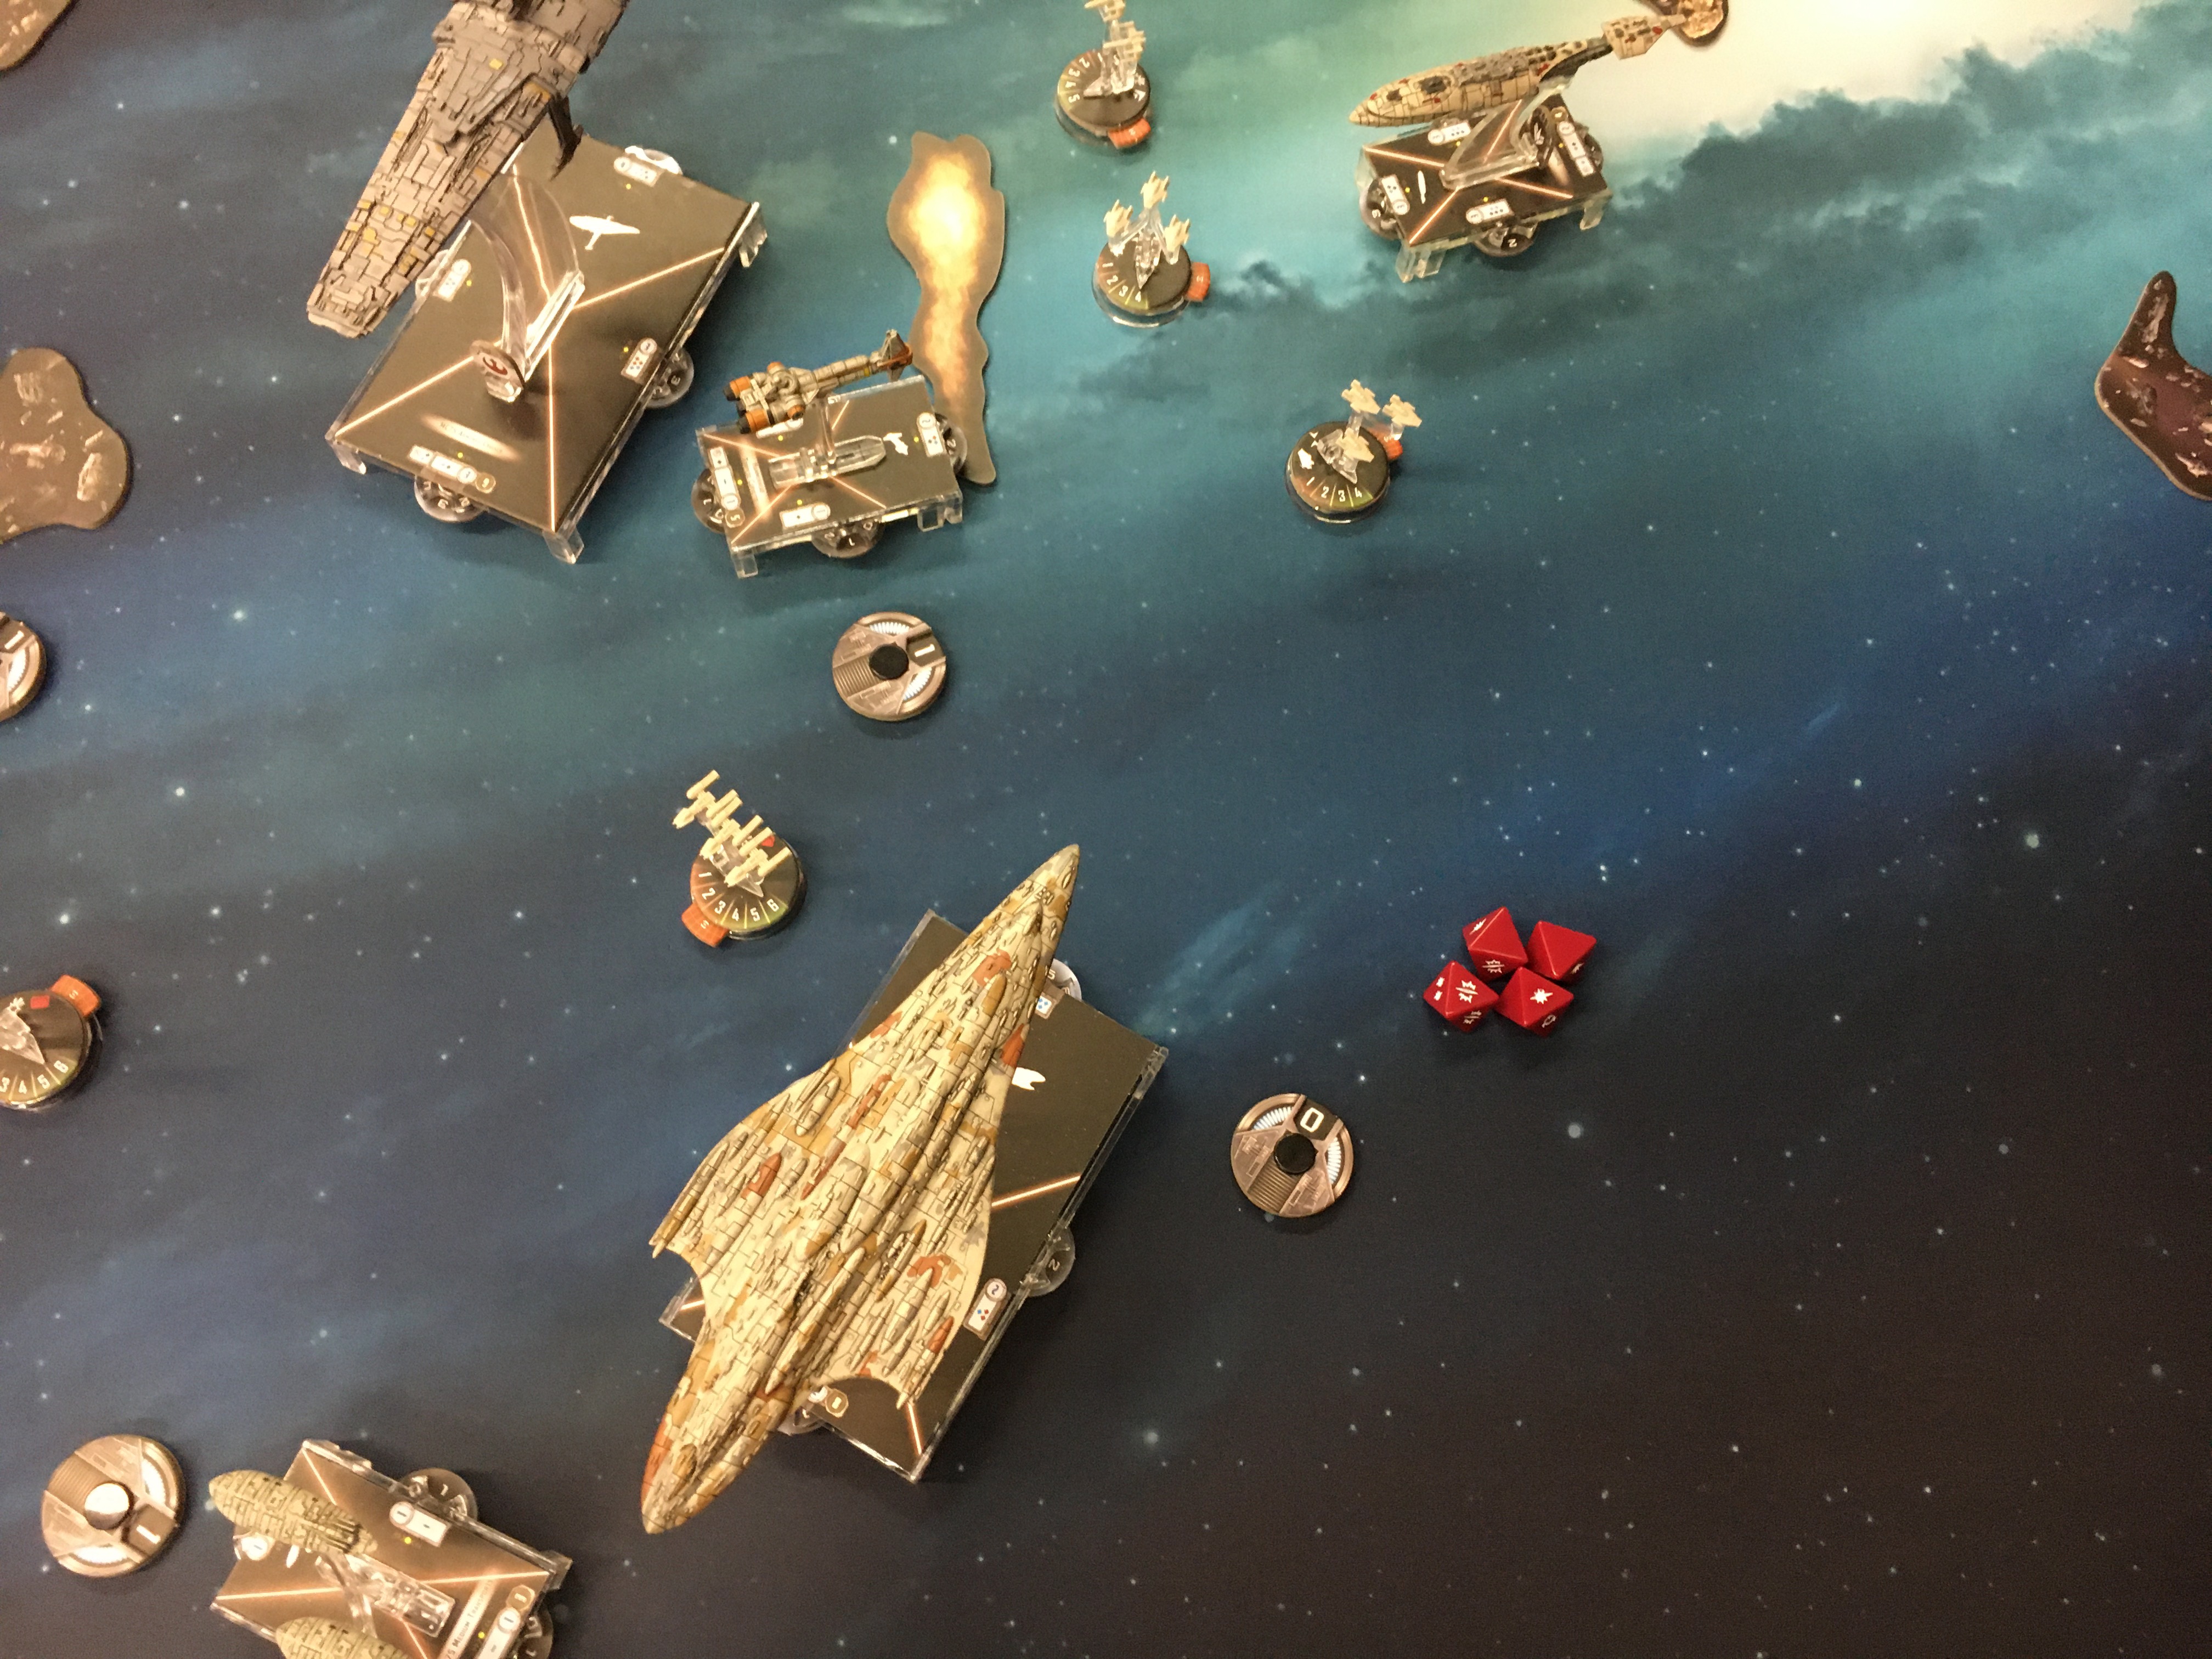
I didn’t own a Liberty when I started building this list. It started off with Defiance on a Home One-model MC80. The MC80H1 is tough, but not too fast, and I was concerned about not being able to either escape or chase down smaller ships after killing the main target. It also is pretty expensive, which made it hard to fit in four squadrons (for more deployments and MC75 protection). Here it is in action vs. Tanner, about to die from bombers after taking down his MC75:

I replaced the enemy MC75 with these dice
The Star Cruiser looked just right for the job: hits hard, can fly fast, and is about one Y-wing cheaper. So I found a Liberty for sale online and excitedly subbed Mon Karren in for the Defiance.
Objectives
Surprise Attack was my best choice for the red objective. No one was going to pick it against Raddus… except maybe another Raddus. And in that case, bring it on–I’ll be announcing my drop after yours!
After the Sloane match against Matt, I tossed out Solar Corona as my blue objective. It ended up hurting me with lost accuracies and did nothing against bombers, a serious threat to my list. I’d chosen it to give me full knowledge of my opponent’s deployment, but Matt suggested Salvage Run. This would also give me some control over engagement, since the station and the tokens would encourage us to brawl in the middle of the map. I had also realized that I needed an option to make up some points with objectives, since the MC75 and its up-to-160 points would be sacrificed in many games. So in with Salvage Run and one VCX to frisbee the tokens over to my ships.

My typical Salvage Run setup
At first I played with Rift Ambush for yellow. The idea, again, was to control the engagement, this time with obstacle placement. In particular, I thought I could punish an SSD with asteroids and the threat of a speed-zero crash if it hit the rift. But after playing it a couple times, it wasn’t that strong and I wanted more anti-squadron help. Asteroid Tactics sounded fun (space worms!) and would give me obstacle control, a way to potentially reclaim defense tokens, and squadron hate from the worms. I also assumed people would like this one the least after Surprise Attack, leaving me with the chance to farm 80 points from Salvage Run tokens.
The tournament
So after all those practice battles and list tweaks, it was tournament time! I joked on Discord that I was gunning for the “Anakin prize”, given for last place. Setting expectations low helps me stay cool and I knew I’d be a bit nervous. Portland has a sizeable community of strong players. I didn’t think I had a good chance to place well, but was looking forward to the learning opportunities offered getting my ships blown up. And I was sure someone would bring an SSD for me to blow up, too.

Prizes!
When it was all over, I’d played only Rebels, only the kind of matchups I’d feared, never against an SSD, always as second player, and had most opponents pick Asteroid Tactics. I ended up in 19th place out of 25, beating my expectations and definitely delivering those learning opportunities. Turns out the Anakin prize was pretty good, though–including a set of fancy acrylic command tokens! Maybe next year ;)
I’ll write up after-action reports from each match and post them here: